« How To Integrate Ruby on Rails with Box.com in 2020 part 1
January 2, 2020 • ☕️ 4 min read

So you want to integrate your Box folders and files with your Ruby on Rails applications. There are a ton of reasons you might want to do this, but I am pretty sure if you landed here you might have an idea about why you are.
The Box.com API is fairly large and has a lot of amazing docs, but it can be difficult to figure out where to start or how you might use it to do things like, create folders from your Rails app or display files from a folder in your App’s UI.
What we will cover
- Setting up your Box account to use the API.
- Using application-level authentication via JWT tokens.
- Setting up server-side tasks like creating folders, uploading files and such.
In Part 2 we will cover:
- Setting up our front end to use the Box UI Elements with React. This will allow us to access our box files and folders from our App’s UI.
- Setting up OAuth 2.0 authentication. This hands over the permissions to Box, so folders and files will only be accessible if the user has the permission on their Box account.
Setting up our Box account application.
Your first requirement is to either create a new account or have an admin level permission on a Box account.
After we have our account setup we need to create a new application on our Box account. We will use it to integrate with our Rails application. This is a common way APIs are set up these days. The application is essentially a place where you store all the settings and credentials you will use for you communicating with the Box API.
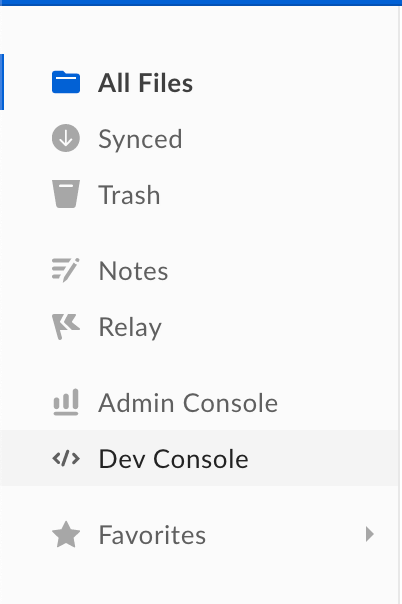
Next, we are going to go to the dev console via the left menu bar:
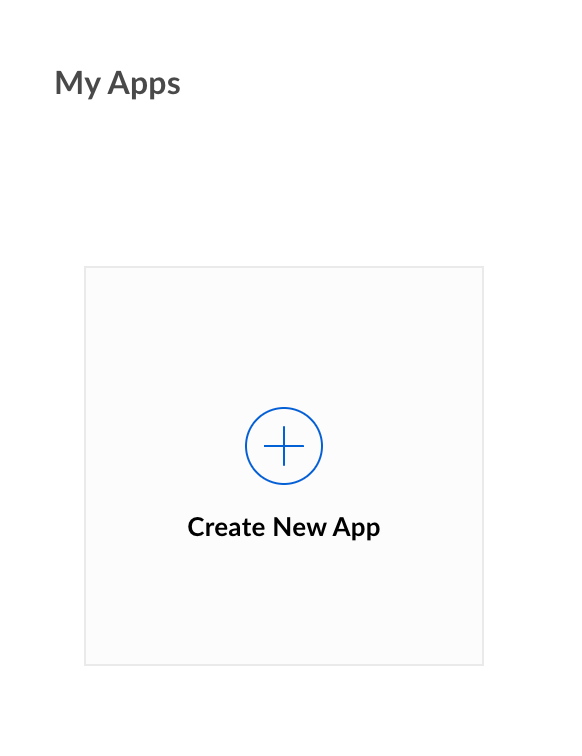
From the dev console, we will need to create a new app.
We are given a choice of types of applications to create. We will be creating a “Custom App” as it will best support us for doing async tasks from the server.
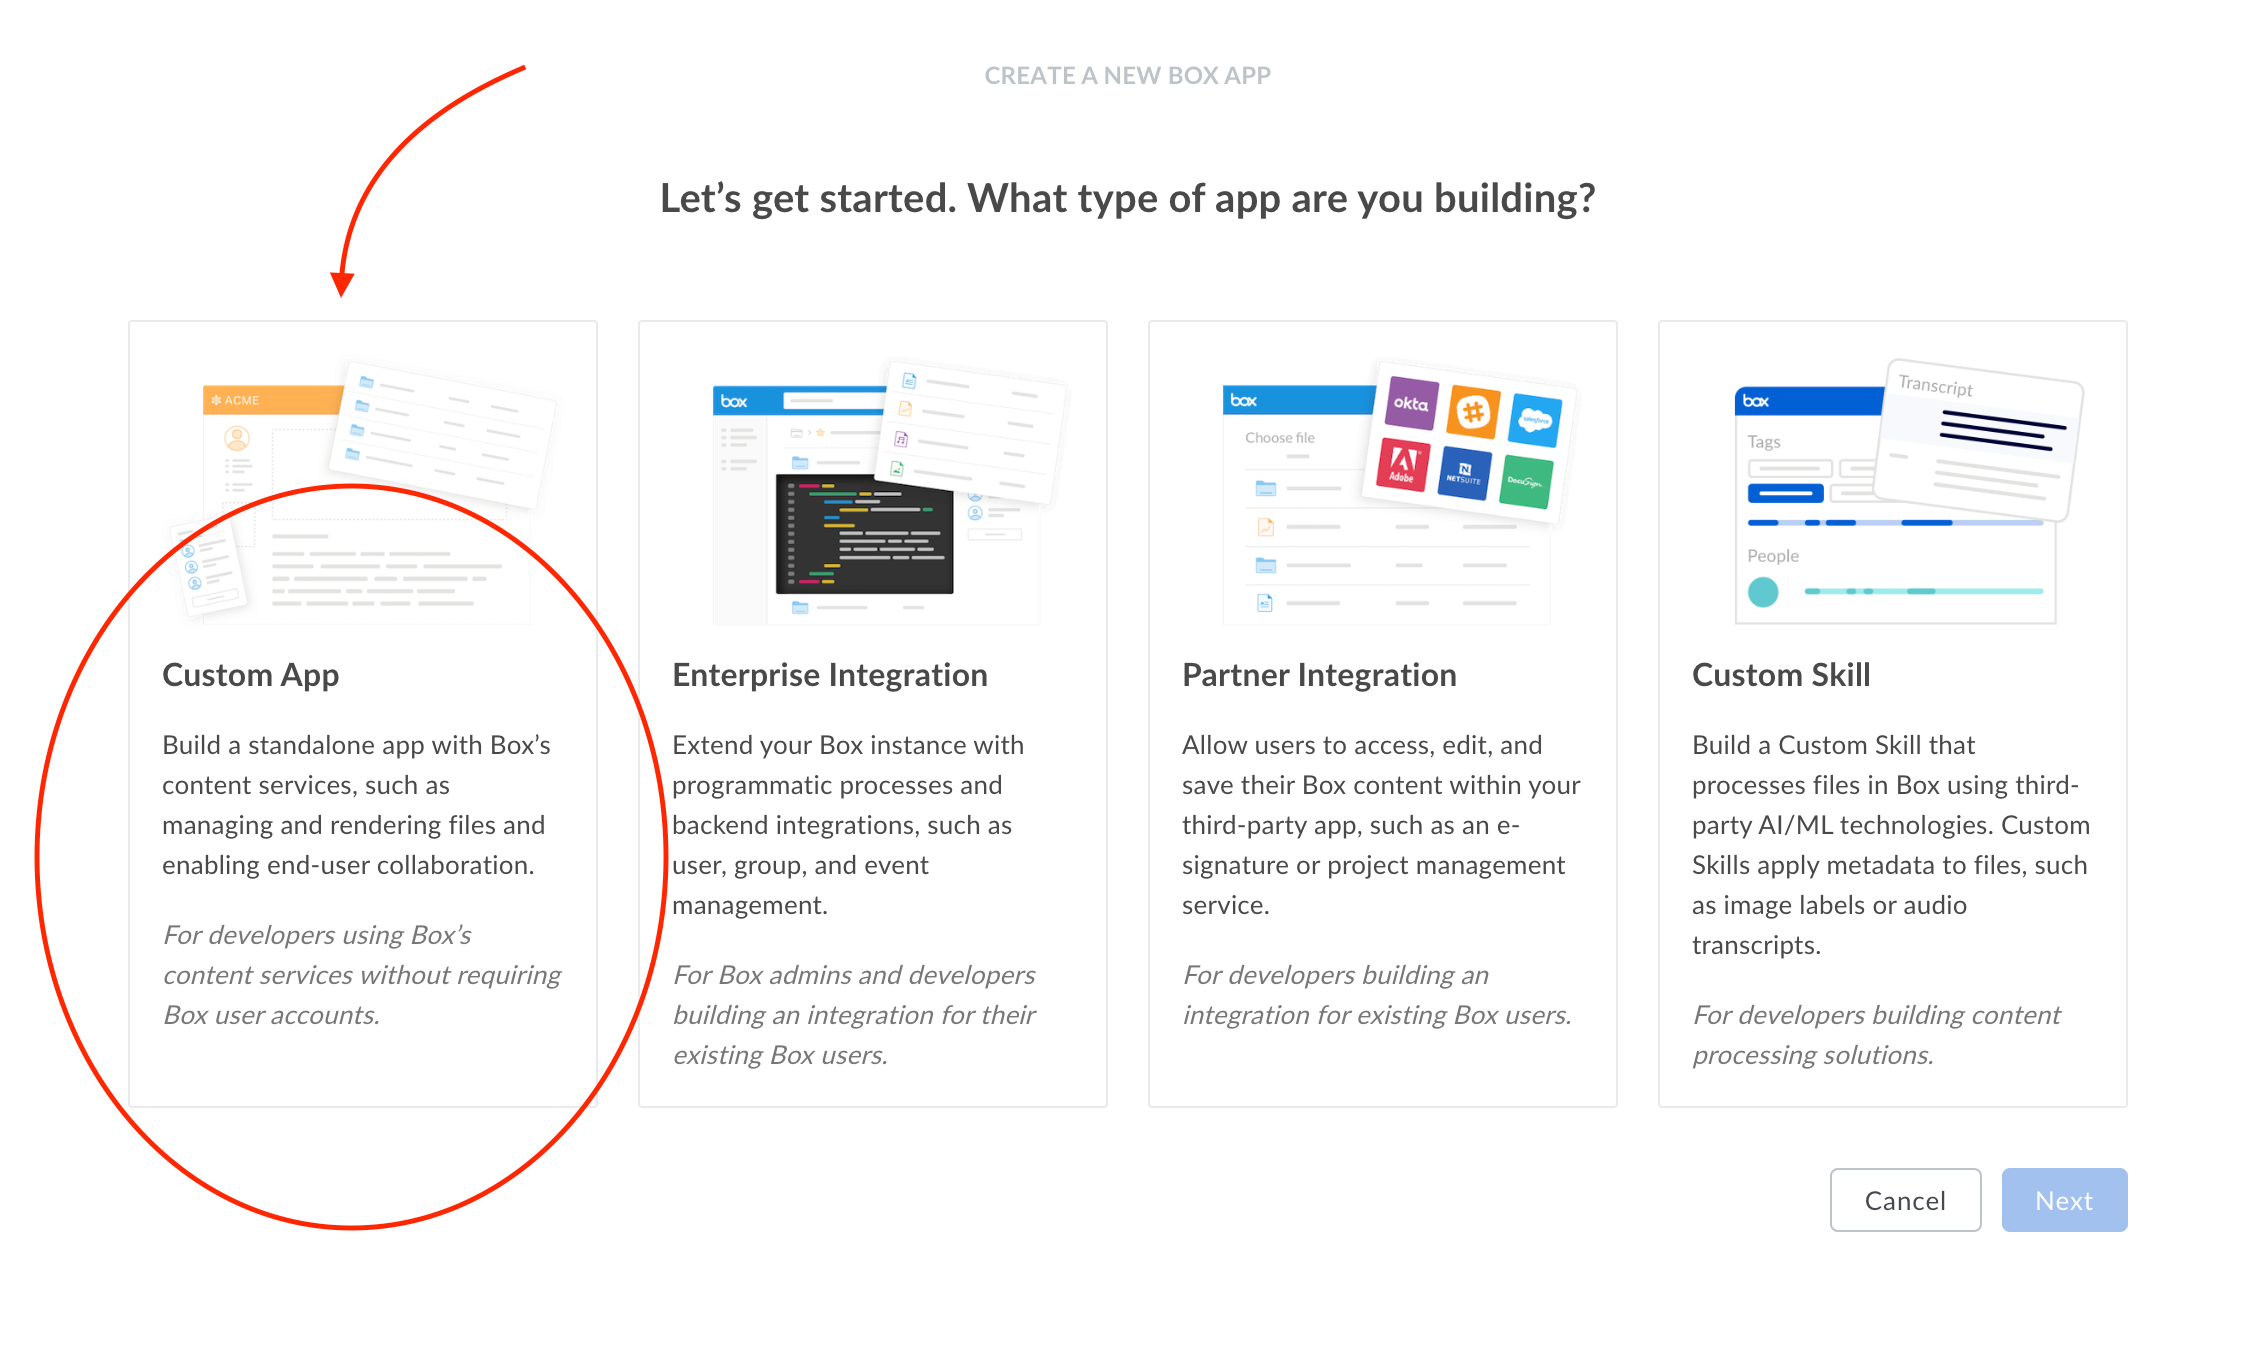
Our Authentication Type will need to be “OAuth 2.0 with JWT” (server-side auth). Let’s give our app a name and move on to “view our app”.
Awesome! We set up our box integration app. We still have two more things to do in Box in order to be prepared for our Ruby on Rails App.
First, we need to generate a public and private key-pair for our app to use. This will prompt our 2-factor auth code.
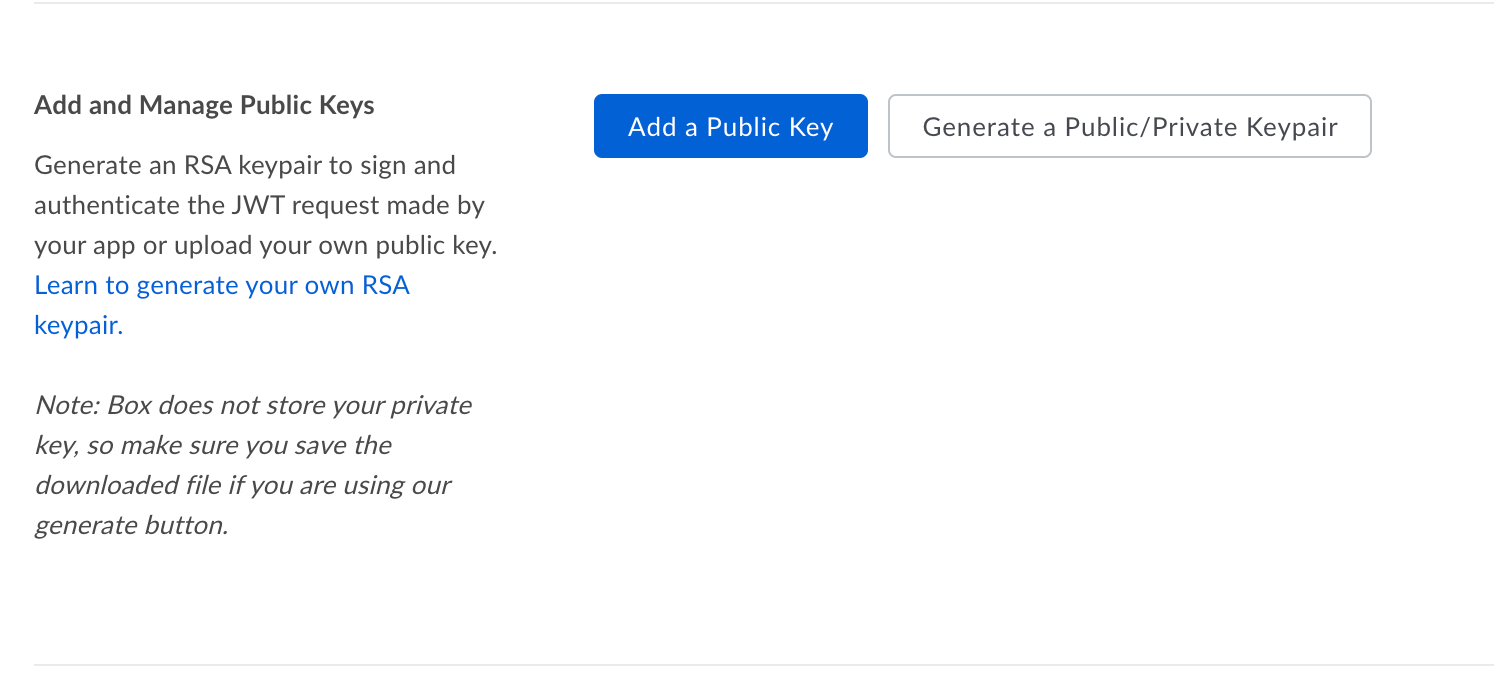
This should have downloaded a JSON file with all the keys and such we need to integrate with our Rails app. Hold onto this file, keep is safe we will use it soon. If anyone were to get access to these keys they would be able to access your entire box account.
Next, we need to authorize this app to make API calls. Seems obvious I know, but this is so developers like us can build apps and the system admin can decide whether or not to approve it.
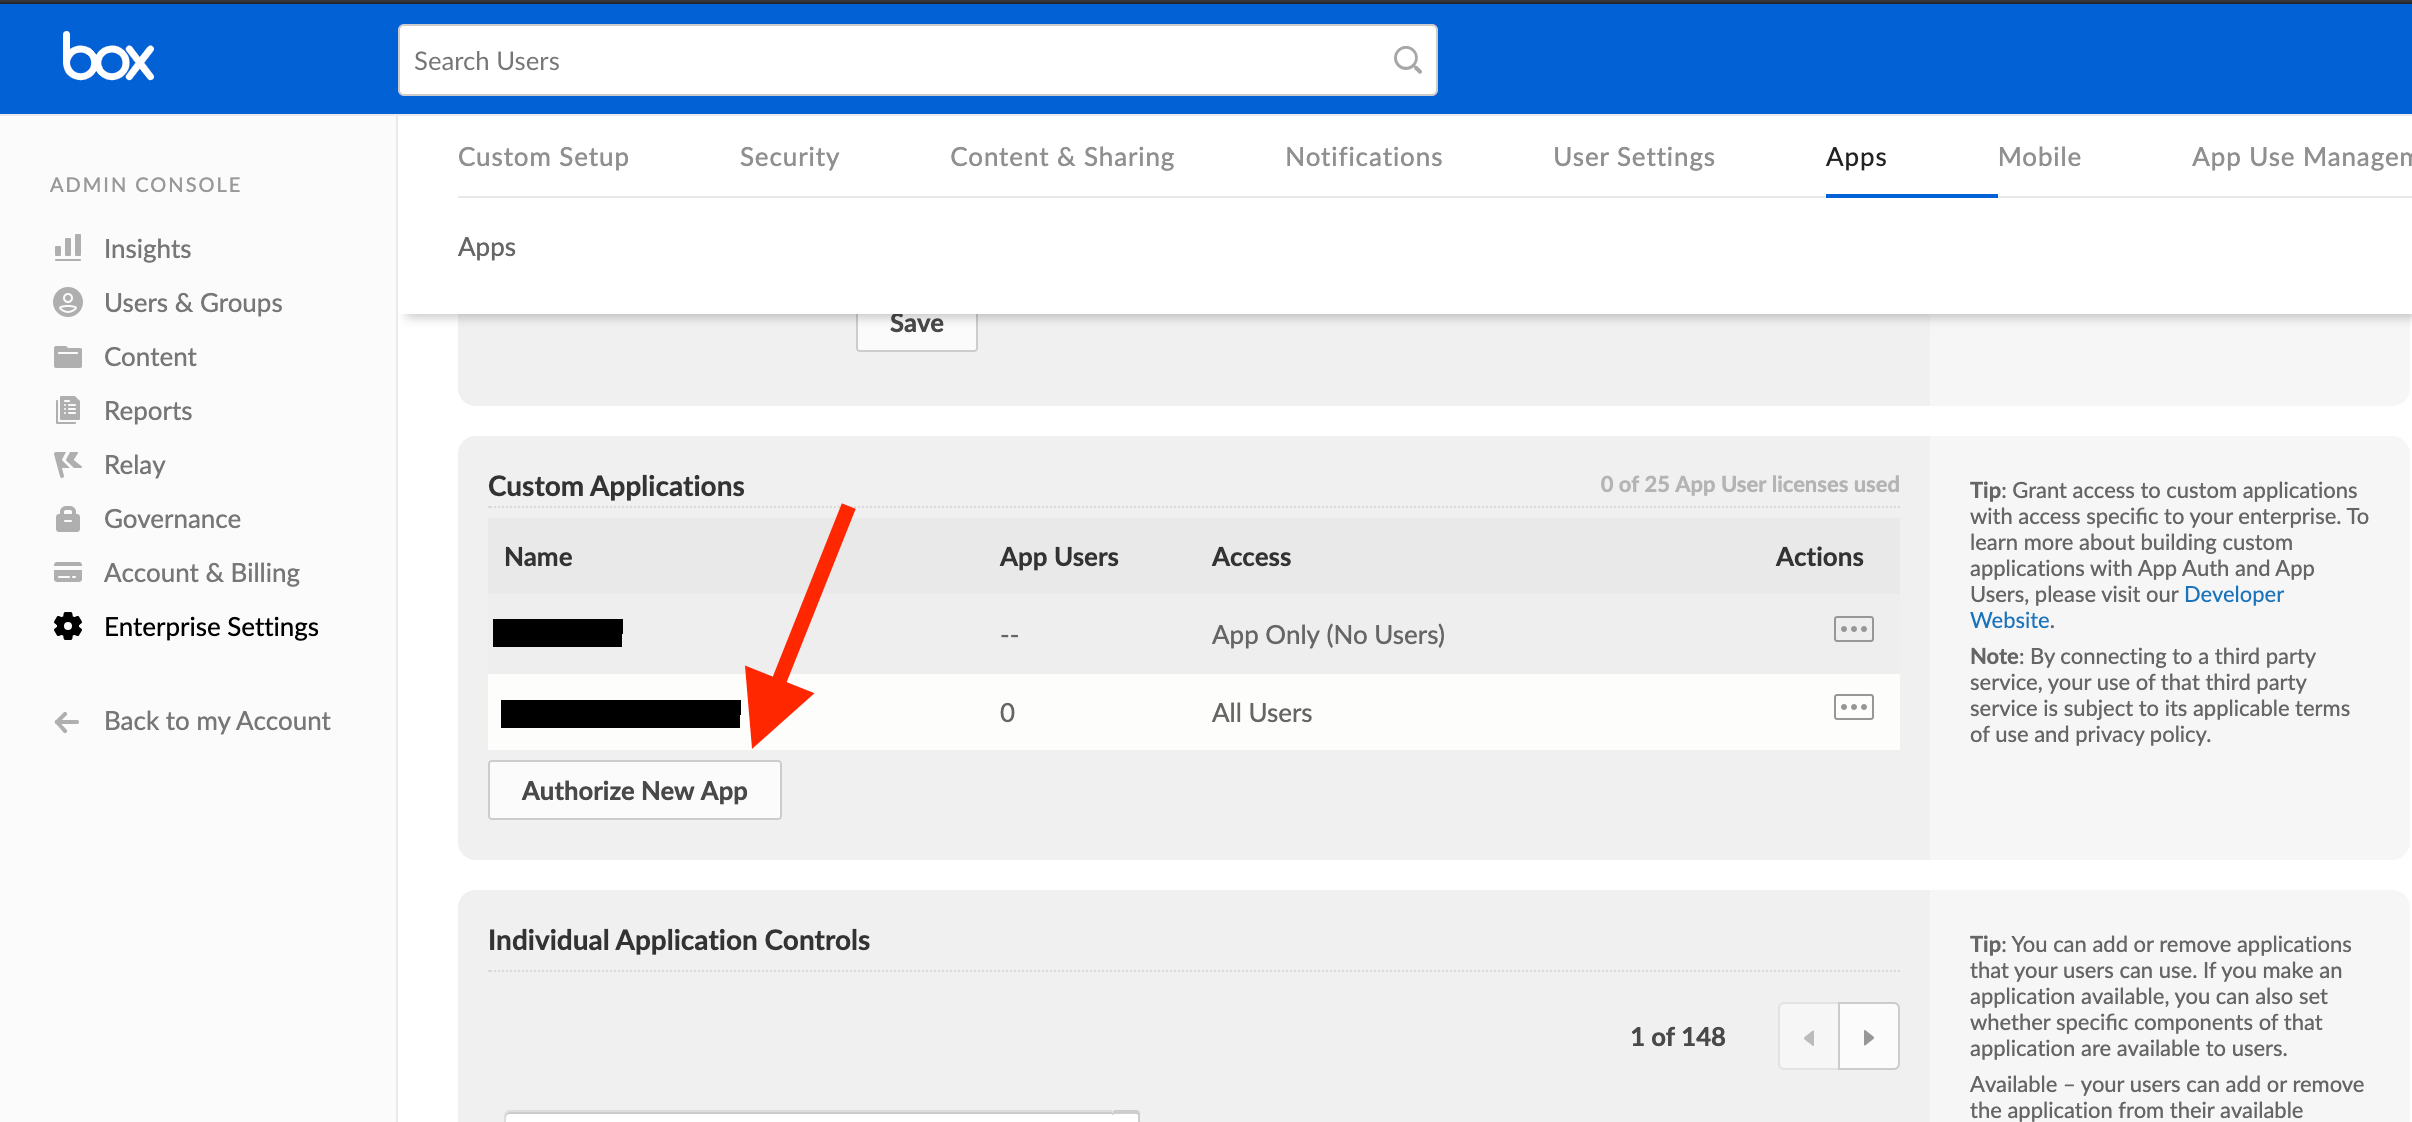
We will need to go back to our main Box account home page and click on the admin console and then the app tab.Scroll down to the custom applications section and click on Authorize New App.
The modal will ask us for our “API Key”, this really means our client_id. Fill in your client id and submit (We can find our client_id in the JSON file we downloaded when we created our public and private key-pair.) This should ask us to authorize the app, let’s do it!
Boom! We are all set up on Box.
Ruby on Rails
In this example, we will have a Rails application that has a Project model. We want to store all the files for any given project in a box folder. We can do this by creating a Box folder every time we create a new Project and saving a reference to that folder on our new project.
Let’s dive in:
We are going to use a nice gem called Boxr that wraps the Box API so we can make things a little easier on ourselves. Run bundle add boxr from our application root and we are good to go.
Next, let’s throw all our credentials from the JSON file we downloaded earlier in our environment using dotenv. Again, let’s run bundle add dotenv to add the gem to our bundle.
We will create a new environment file called .env.development and it should look something like this, where the values in the curlies ({} ) will be where we find the values in our JSON file.
# .env.development# Box.com JWT_PRIVATE_KEY={appAuth.privateKey} JWT_PRIVATE_KEY_PASSWORD={appAuth.passphrase} JWT_PUBLIC_KEY_ID={appAuth.publicKeyID} BOX_ENTERPRISE_ID={enterpriseID} BOX_CLIENT_ID={clientID} BOX_CLIENT_SECRET={clientSecret}
Next, let’s make a BoxApi Class that will implement a get_token method and create_folder method.
It will look something like this:

get_tokenis going to use all of our environment variables to fetch an access token for us to use to communicate with the Box API. create_folder will use get_token and then create a folder in our box account.
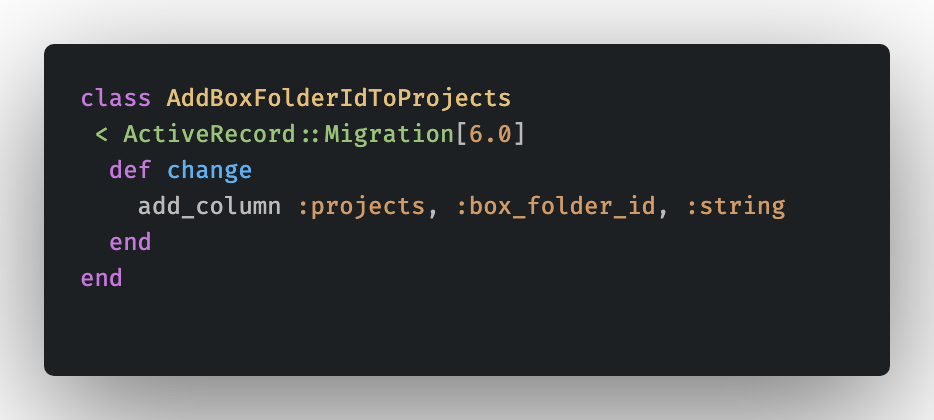
Let’s add the box_folder_id to our Project model by generating a migration:
run: rails g migration add_box_folder_id_to_projects box_folder_id:string .
Our migration should look like this:
Run your migration with rails db:migrate .
Next, let’s use the BoxApi’s create_folder method on our Project model to create a new folder every time we create a new project.
It will look like this:
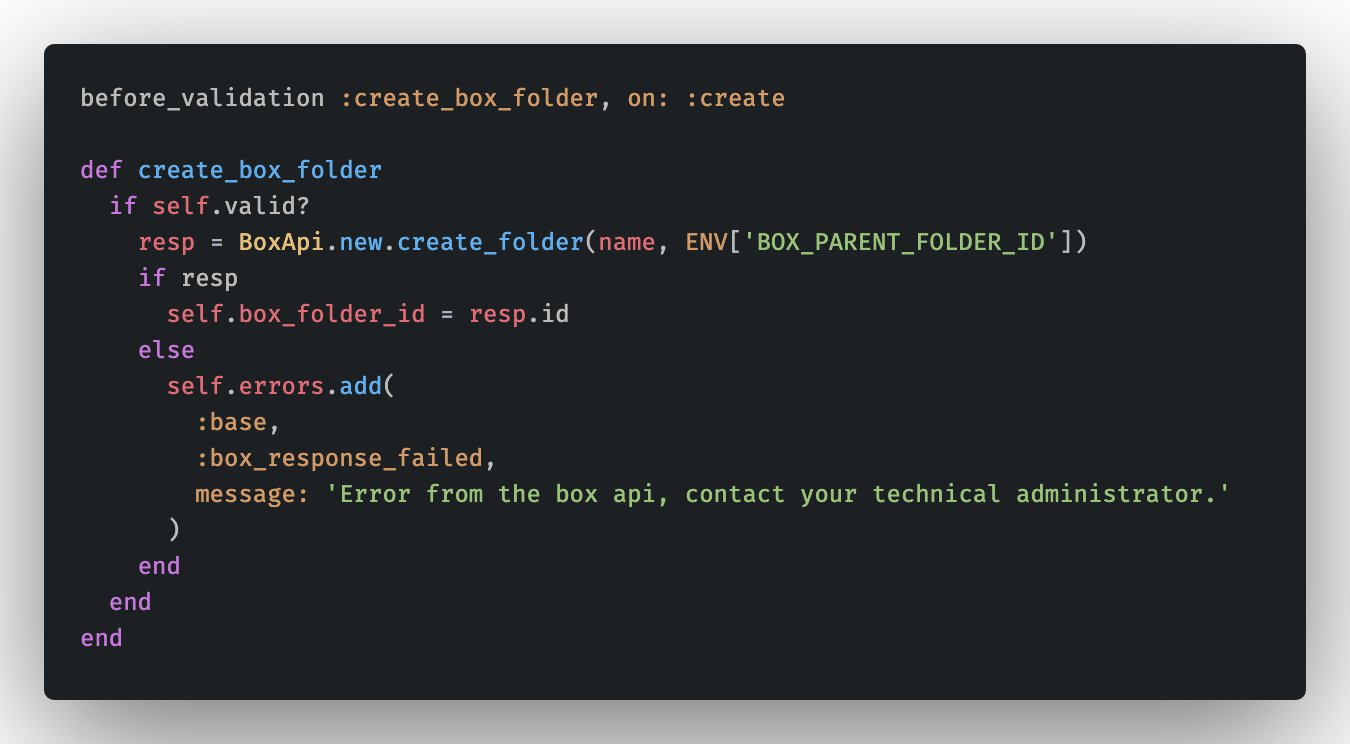
We are using the before_validation callback and adding the restraint of on: :create this will call the create_box_folder method before creating a new record, before the validation phase of the saving process.
When we create a new folder on Box we get the box_folder_id from the response and add the box_folder_id to the project so it will save.
NOTE: I added a parent folder ID that the folder will be created in. This helps contain all these project folders in one place for me, but you can leave it as the root folder if you would like.
Great, we did it! We now have Box integrated with our backend application to create and reference a new folder for all of our projects on our app!
Come back for part 2 where we will cover accessing these files from our application in our front end UI.